
Keeping your professional pedicure tools clean isn’t just a good habit—it’s essential for the safety and satisfaction of your clients. Proper sanitation not only prevents the spread of infections but also maintains the longevity of your tools. The following step-by-step guide will help you sanitize your pedicure tools effectively and efficiently.
1. Gather All Necessary Supplies
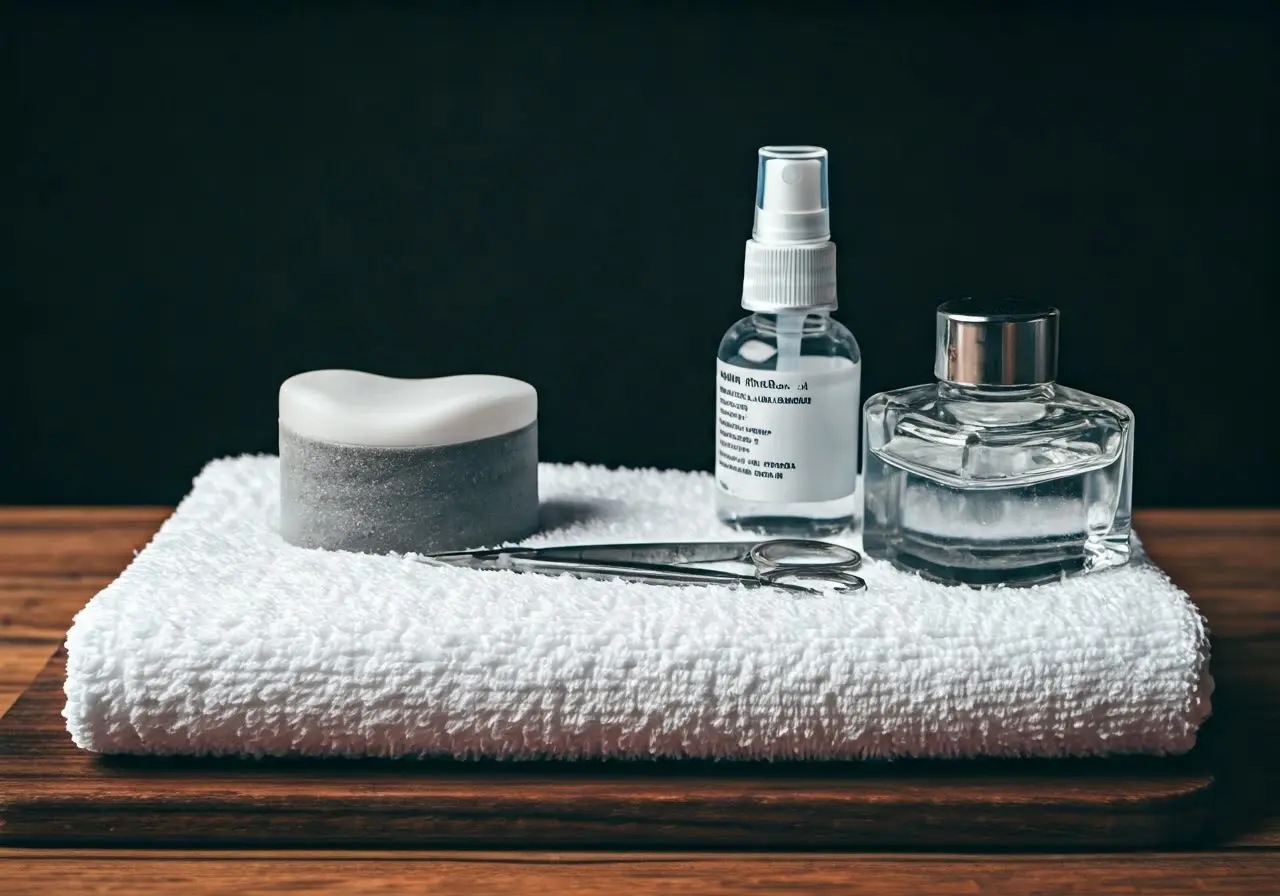
Before you begin sanitizing, make sure you have all the necessary cleaning supplies on hand. This includes disinfectants, cleaning brushes, clean towels, and a sanitary workspace. Having everything within reach will streamline the sanitation process and ensure that you don’t miss any steps.
Professional pedicure tools require specific cleaning agents. Opt for salon-grade disinfectants that are proven to kill a wide range of pathogens. You’ll also need clean towels or disposable paper towels for drying, as well as airtight containers for storage.
It’s essential to work in a clean, well-ventilated area. Ensure your workspace is sanitized before you start. Use surface disinfectants to wipe down your counters and place all your supplies within easy reach. This setup will help you maintain a smooth flow during the sanitation process.
2. Pre-cleaning the Tools
Start with a basic rinse to remove any visible debris. Use a gentle soap and warm water to wash each tool thoroughly, ensuring all surface dirt and residue are eliminated. This step is crucial as it prepares the tools for deeper disinfection.
For tools with stubborn grime, a brush can be particularly helpful. Scrub meticulously to ensure all nooks and crannies are cleaned. Focus on areas that tend to collect debris, like nail clippers and files. Regular pre-cleaning ensures that the disinfectant can work more effectively during the next steps.
3. Using a Suitable Disinfectant
Choose a high-quality, salon-grade disinfectant that is effective against a broad spectrum of pathogens. Follow the manufacturer’s instructions for dilution and contact time to ensure maximum efficacy. For detailed guidance, you can refer to sanitation tips that outline best practices.
It’s critical to use the correct ratio of disinfectant to water. Too weak, and it won’t kill all pathogens; too strong, and it could damage your tools. Always measure carefully and wear gloves to protect your skin from harsh chemicals.
4. Soaking the Tools
Immerse your tools in the disinfectant solution for the recommended period. This soaking process will help kill any remaining bacteria, viruses, or fungi that could potentially cause infections. Ensure each tool is fully submerged and give it the time specified by the disinfectant manufacturer.
For best results, you can use a timer to track the soaking period. Proper soaking ensures that the disinfectant has enough time to work its magic. Whether it’s 10 minutes or 30, adherence to time is essential for the effectiveness of the sanitization process.
5. Rinsing and Drying
After soaking, rinse each tool thoroughly under clean, running water to remove any disinfectant residue. Ensure that no traces of the disinfectant are left on your tools as they can cause skin irritations or allergies in clients.
Dry the tools with a clean towel or disposable paper towels to prevent rust and maintain their condition. For extra care, air-drying tools in a clean, dry area can ensure that no moisture remains, which is crucial for tools made of materials like stainless steel.
6. Storing Tools Properly
Once your pedicure tools are dry, store them in a clean, dry, and covered environment. Use tool organizers or sanitized containers to prevent contamination and ensure easy access during your next session. Proper storage is vital for maintaining the cleanliness of your tools.
Tool organizers can be a worthy investment. They not only keep your tools sorted but also reduce the risk of contamination. For a comprehensive selection of hygienic storage solutions and tools, consider exploring dedicated beauty suppliers.
7. Regular Maintenance Checks
Inspect your tools regularly for signs of wear and tear. Replace any damaged or heavily used items to ensure the highest level of hygiene and effectiveness. Regular maintenance checks will help keep your tools in top condition and ready for use.
Frequent maintenance is key. Checking for rust, loose parts, or dull edges can save you from unexpected replacements or service interruptions. These routine inspections are pivotal in maintaining a professional standard.